Painting the interior walls of a manufactured home is an excellent way to make the space yours and create a signature look for your home. The vinyl-on-gypsum (VOG) wall panels used in most manufactured homes can easily be painted, provided you know a little bit of key information.
Painting vinyl mobile home walls is one of the easiest mobile home upgrades that most homeowners can do on their own, and MHVillager will show you how in this handy guide. First, you’ll want to understand the basics of VOG board, the most popular material for mobile home walls.

Vinyl-On-Gypsum Wall Panels
First, let’s review some key information about VOG panels. They’re made from sheets of vinyl applied to thin panels of gypsum board (commonly known as drywall). The vinyl sheets sometimes have wallpaper-like patterns printed on them.
Painting vinyl-on-gypsum isn’t substantially different from painting drywall in most ways, but there are several key things to keep in mind:
- VOG walls can be damaged just like drywall, so use extra care at all points during the painting process and don’t sand your walls if possible.
- Typically, the seams of VOG panels will be covered by plastic strips called battens. It’s up to you whether or not to remove the battens.
- Choose high-quality paint and primer, as cheaper varieties tend to flake and provide uneven coverage on vinyl walls.
Choosing Your Color Scheme
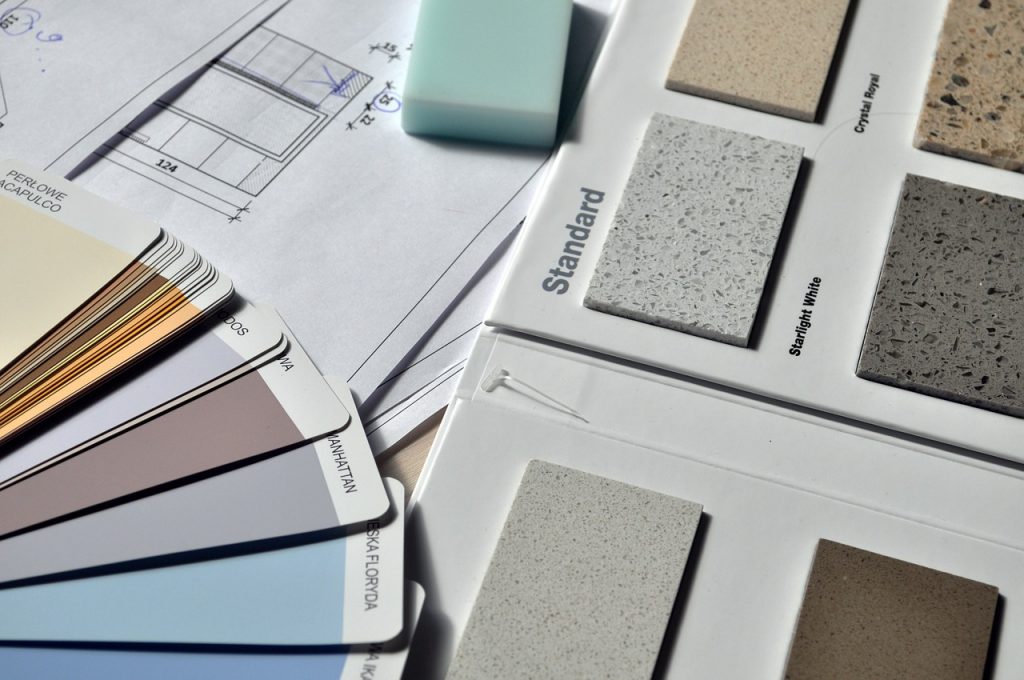
You’ll want to give some thought to your choice of colors before buying painting supplies. The old-fashioned way is to get some paint swatches from a hardware store and compare them, but many homeowners also like to use the paint visualizer apps offered by major paint manufacturers and hardware stores to get a more complete picture of how their new colors will look.
Supplies for Painting Mobile Home Walls
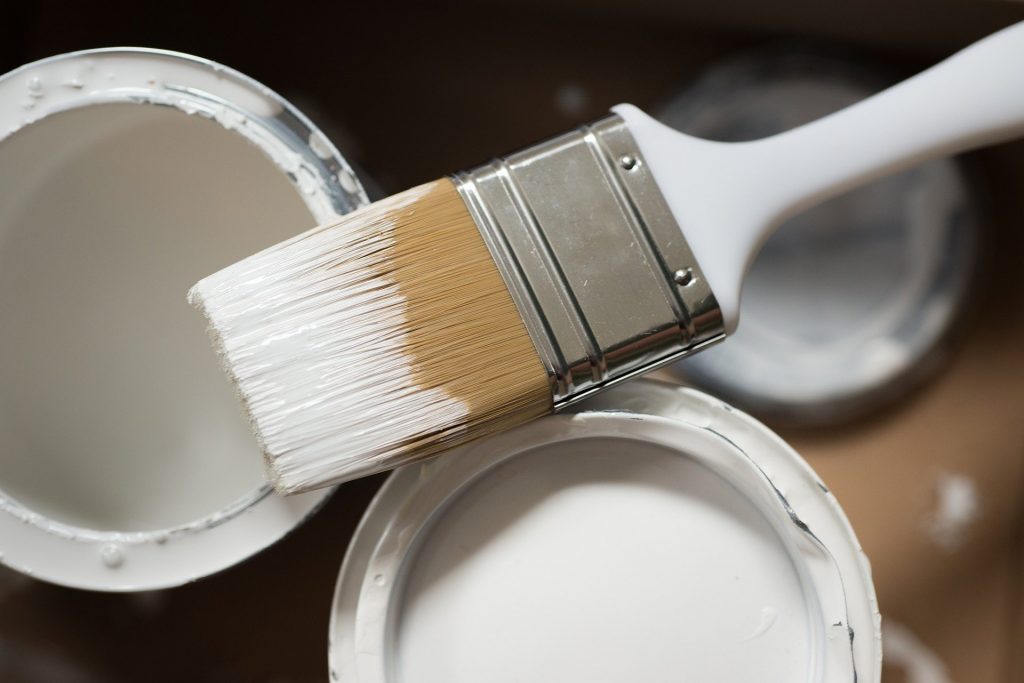
Before painting your walls, you’ll need to put together the right supplies. You should have:
- Paintbrushes and rollers, including an angle brush
- Paint
- Primer
- Drop cloths
- Painter’s tape
- Rags and sponges
- Cleaning solution (dish soap will work)
Once you’ve assembled the right supplies, it’s time to prep your walls.
Prepping Your Walls
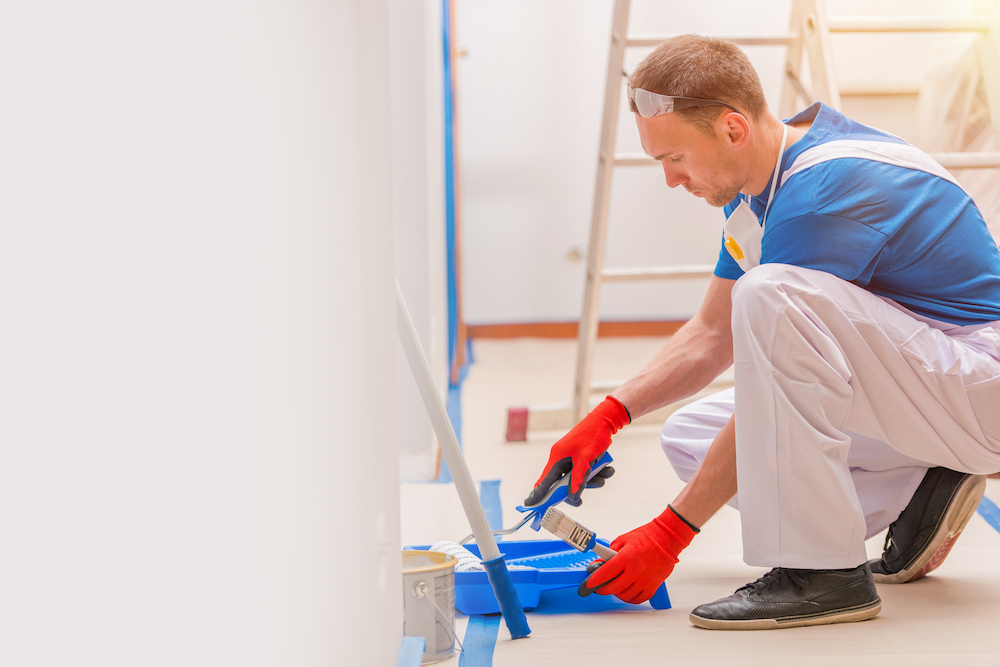
Preparing your walls will make your paint job smoother and more durable. Here’s how to do it:
- Clean your walls thoroughly with your cleaning solution of choice.
- Place drop cloths on your furniture and floors to protect them.
- Apply painter’s tape to your walls’ trim and to the places where the wall meets the floor.
- Use a roller to apply primer to your walls. Apply two coats of primer for the best results.
Remember that sanding can damage your walls, so avoid it whenever possible. (You’ll have to do a small amount of it if you remove the battens.)
You’ll need to decide whether or to remove the battens from your walls. Removing them can be a time-consuming process, but some homeowners prefer to paint without them. If you’re going to remove battens, make sure to read the next section, or skip it if you plan to leave them attached.
Removing the Battens
A more even paint job is the biggest point in favor of removing your battens. Some homeowners also simply don’t like the way that battens look. However, removing battens can be time-consuming and requires the homeowner to tape and patch the wall seams with drywall compound.
The basic process of removing the battens and filling the seams is as follows:
- Remove the battens from the walls using a putty knife, being careful not to damage the wall panels.
- Use wall repair tape and drywall joint compound to cover and fill the seam between the panels.
- Very gently, use sandpaper to smooth down the mud once dried.
- Paint the wall.
The Painting Process
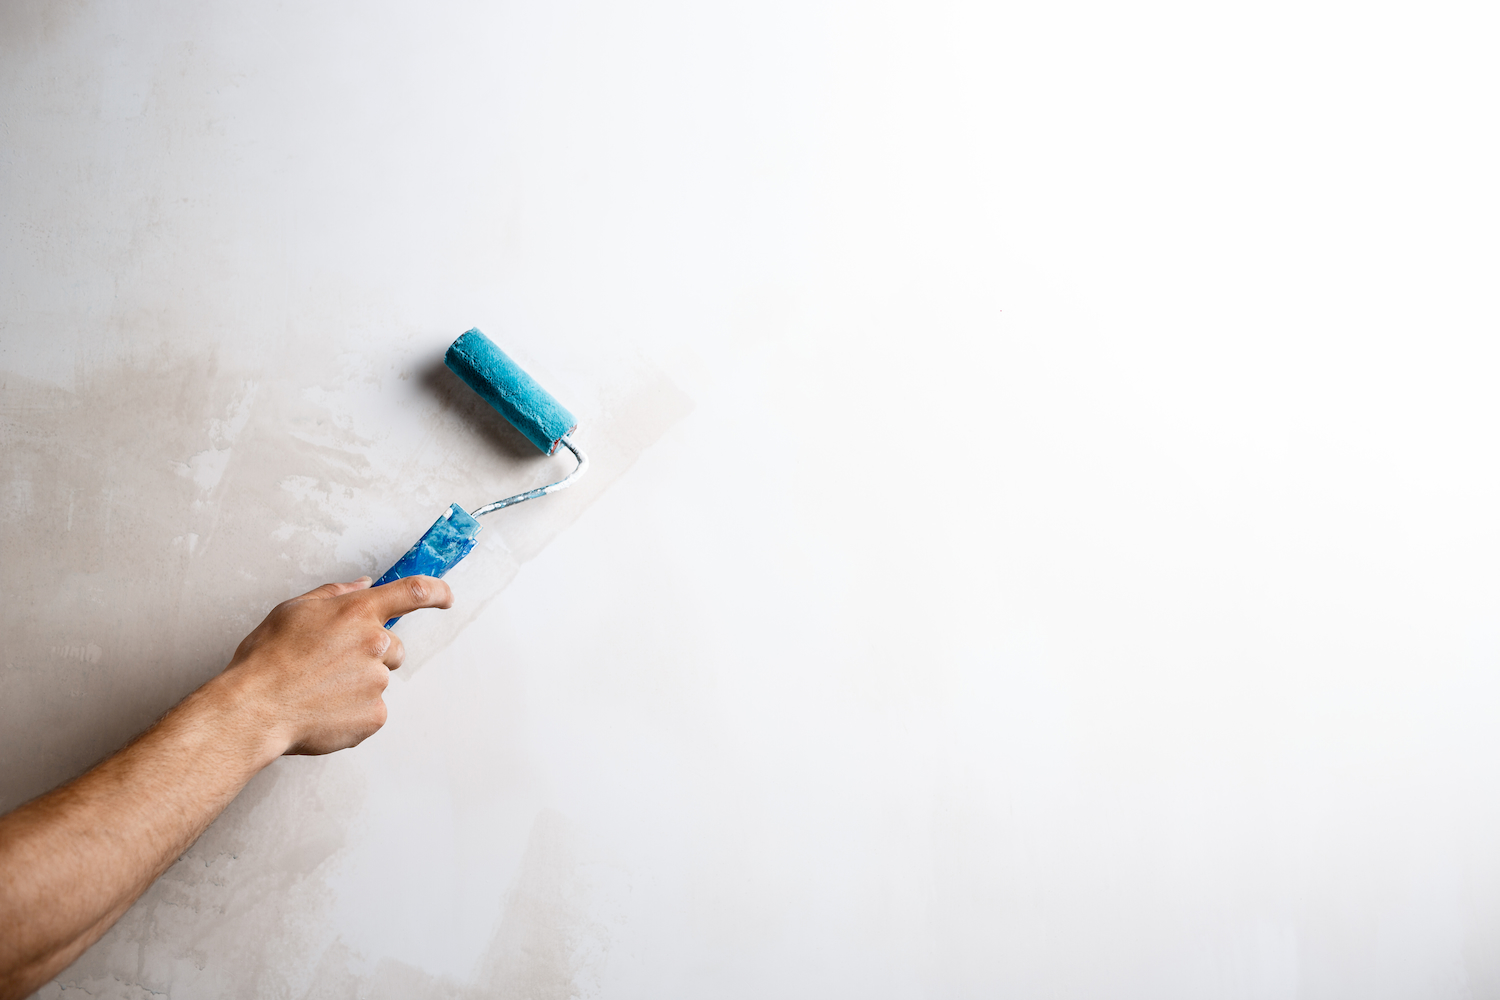
Once you’ve completed prepping your walls, it’s time to paint. Keep these tips in mind:
- Apply at least two coats of paint to get more even and consistent coverage.
- Use gentle strokes with the roller to avoid damaging the walls.
- Grab your angle brush and use the technique of “cutting in edges” to get complete coverage in the nooks and crannies.
Finally, remove the painter’s tape, give your walls some time to dry and you’re done!
You’ll find more helpful tips for manufactured home maintenance and improvement on our MHVillager blog. Make sure to check out our articles on replacing manufactured home siding and easy mobile home upgrades to improve your home’s value.


