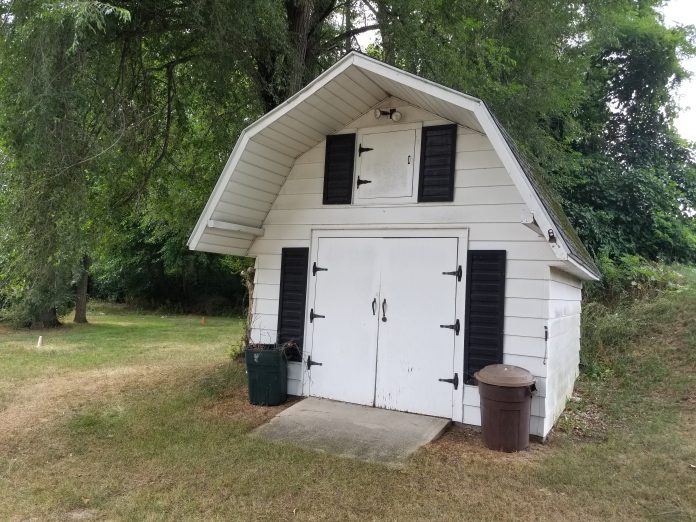
The nature of an 8×10’ structure creates some unique challenges when considering how to repair a shed
Many mobile home residents have an 8×10 shed adjacent their home for storage of lawn and gardening tools. Those sheds can weather rapidly, leaving the owner to wonder how to repair a shed.
If your shed is becoming dilapidated, it’s tricky to diagnose where the problem exists because you have a small, unstable structure that cannot safely support the weight of the person doing the work.
So, if the floor is soft, or perhaps some water is coming in, you’ll need a good free-standing ladder that can safely hold the weight of you and your tools without leaning on the structure. The last thing you want to do is fall through the roof you’re trying to repair.
Along with the ladder, other tools and materials you’ll need to repair a shed:
- A claw hammer
- Perhaps a pry bar too
- A very sharp knife
- Treated lumber if you know you have floor or wall problem
- Plywood or board for roof repair
- Hand or power saw
- Some roof patch or seal (this is needed only to secure roof shingles if the work is done in cooler weather)
- Felt
- Shingles
What’s Happening with my shed?
Brian Stone is the general manager for AJR Development, community owner and operator based in Novi, Mich. AJR requires residents to place only 8×10’ or 10×10’ sheds on a cement slab, each with vinyl siding to match the home and with aluminum fascia, residential steel doors and shingled roof.
“Maintenance is much easier if you start with a good structure. Not to mention they look nice!” Stone said. “A suggestion I often make to many residents is to seal your cement in the shed and use waterproof caulking under the shed frame to help keep moisture and rodents out.”
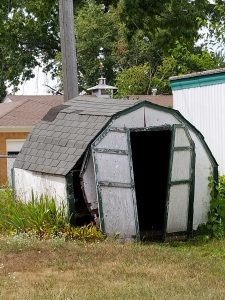
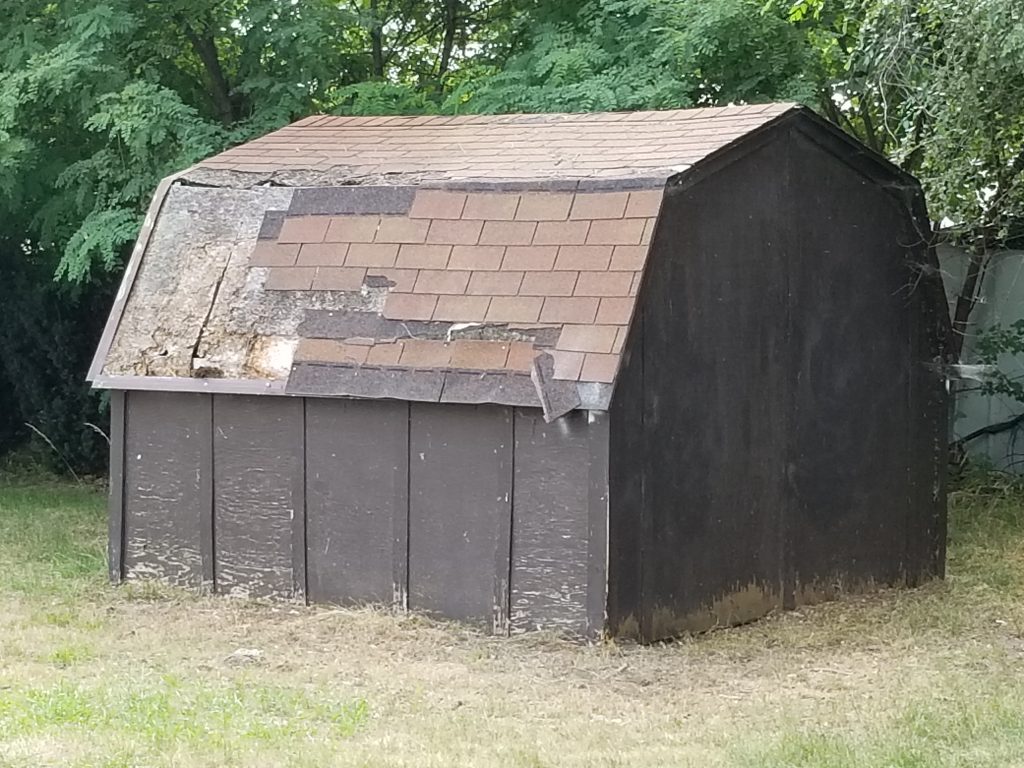
The initial realization that your shed may need some attention is going to be the spongy floor, the breeze through what should be a closed window, the varment that’s taken residence, or dripping from the roof.
Take a deep breath, because this can go in many directions.
First, maybe it’s just the floor. Floor planks rot easily, especially if they’re made with low-grade lumber or particle board, as many sheds are. The moisture from the ground is trapped below the floorboards and begins rotting them from below. It can eat into the sub-floor and supports as well.
So, remove all of the items you have stored in the shed, and begin poking around to identify all of the trouble spots. Regardless of what happens from here, you know there will be a need for pulling up floorboards and replacing them.
However, the question remains, are the floorboards giving way because of the moisture below, or is there something else coming from the walls or the roof.
The Walls and Windows of Shed Repair
Compromises to walls and windows should be pretty easy to detect.
John Stanley of Sun Communities is the Regional VP for select properties in Michigan, Virginia, New York and Pennsylvania.
“Look for broken glass, light coming through a wall, or water lines down a wall… these are sure-fire giveaways,” Stanley said. “Cobwebs can give away incursions to the structure too. If you have your hand hovering above the windows jam and around the frame, you’re likely to feel a temperature change or draft if there’s a problem.”
For a more accurate check, those $20 handheld laser thermometers do a great job. And are fun to play with too.
If you’re getting air, snow, a raccoon or something larger through the wall, clearly there is a problem that needs to be addressed.
Any compromised boards that pull apart due to water damage, or have been damaged by critters, will be pulled out and measured for length and width. Replacement boards are cut to size and screwed in. Also, remember to repair or replace any disrupted insulation in the wall.
How to Repair a Shed Roof
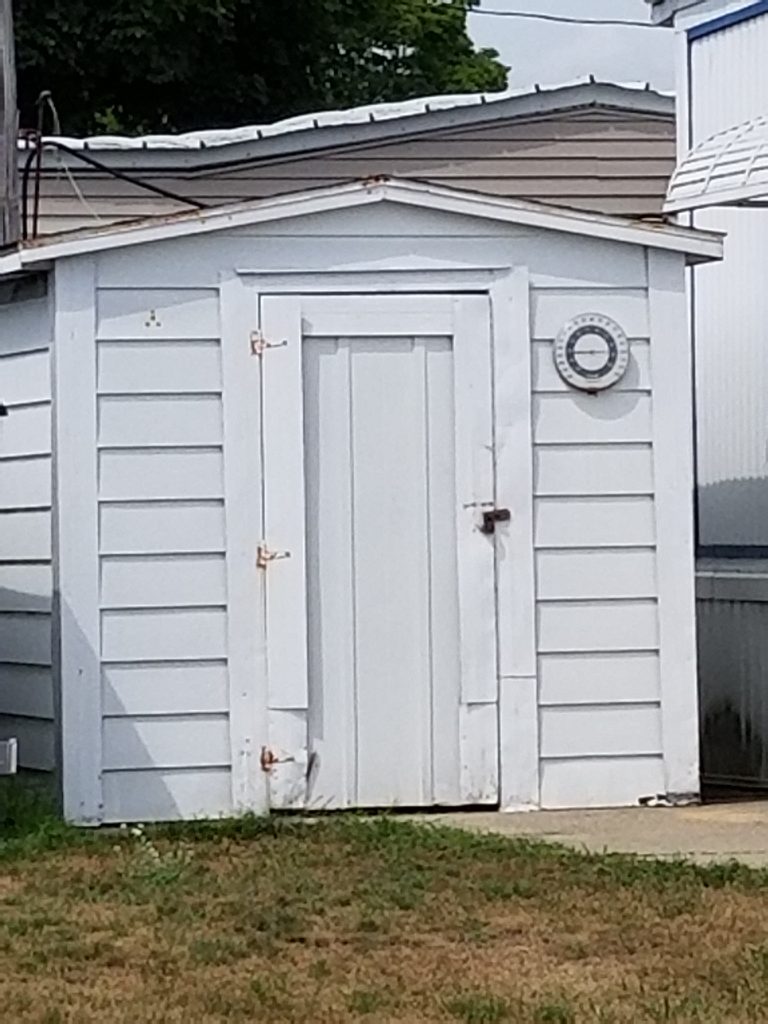
Again, you need to ensure a good working platform that gets you to roof height without leaning on the structure; this likely will be a free-standing ladder or scaffolding.
Chances are any bit of disrepair your shed has experienced is due to moisture in the wrong places. We’ve covered everything below the roof and potential culprits. However, the overall culprit could be a very old or a poorly built roof that allows moisture in the structure, down the walls, around the windows and into the floor. Yes, all you’ve experienced can be blamed on the roof and cascading water, that might even be out of sight.
So, get up on your ladder or scaffold with the claw hammer or pry bar. Scan the roof for obvious incursions. Are there any dips or drops in the roof? Do you see shingles that have blown away, crumbled or are otherwise disrupted?
If so, begin the investigation process at the nearest edge point to the visible damage. If there is no visible damage, simply calculate the side of the roofline that’s likely to take the most weather and start there.
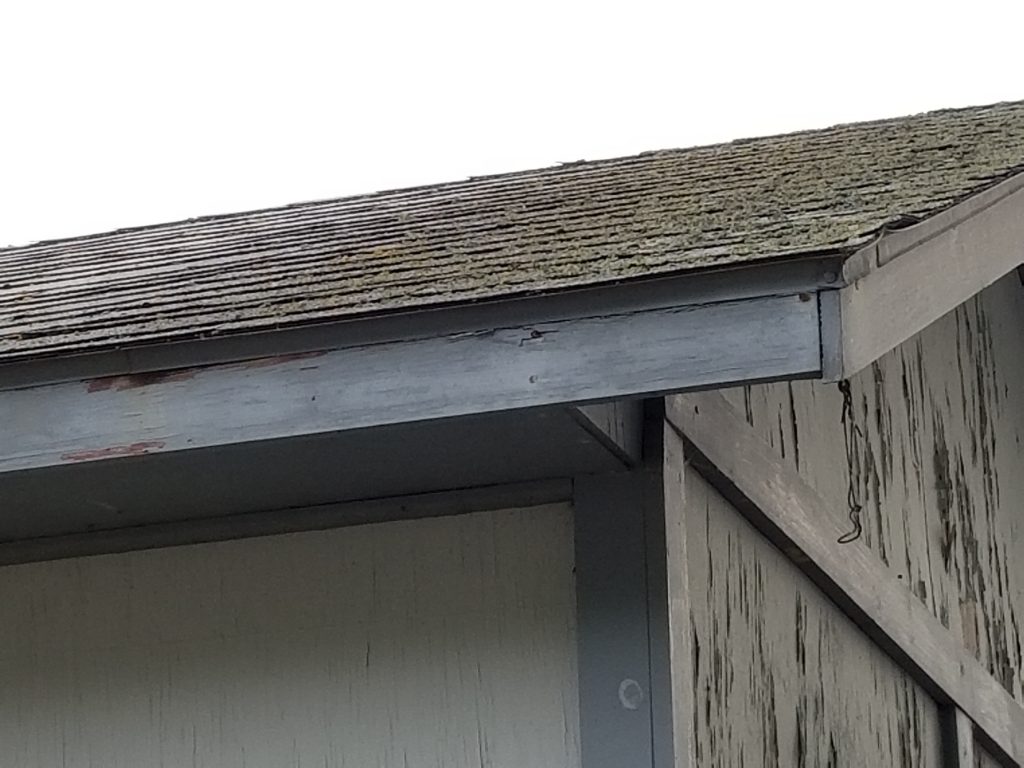
Remove the roofline fascia if there is any, and start peeling back the shingles and felt until you can see the roof board. Pull up on the board with your hand — does it crumble or come apart easily? Does it pop up with little trouble? If the roof is damaged, one of these is going to be true.
Find out How Much of the Roof is Rotted
Keep working up from the roof edge and pulling away wet or dilapidated roofing, taking away shingles and felt as you go. If you make it halfway up the roof, you know you probably have a full replacement on your hands rather than just a repair job.
However, if you can identify a defined portion of the roof that is damaged, draw a line about six inches around the area of disrepair and plan to focus your attention on rebuilding that portion of the roof.
If you have a full roof replacement, just keep going at it until the roof has been reduced to its supports.
Roof Repair Versus Replacement
If your damaged roof is made of side-by-side boards, you will cut out the damaged portion just as we described for the wallboards. Insert and nail down the new boards, even leaving a couple inches of overhang that later can be cut in line with the rest of the roof. Overlap any required replacement felt with the existing felt, and tack down with roof patch or seal to create the best possible moisture barrier between the new and old material. With the felt in place, begin sliding in shingle strips from the roofline toward the peak of the roof. Nail the shingles down and overlap by half the next row of shingles for complete coverage from water, snow, ice and even wind.
If you have to replace the entire roof and the structure has boards, consider taking out all of the boards and replacing with treated sheet boards. The fewer boards you have covering the structure, the fewer opportunities there are for moisture to work its way in.
So, continue ripping down to the stud support, take measurements and place the replacement lumber or board on the roof and screw in place. Make sure the new material is square and has the proper 3-plus inch overhang required to keep the structure clear of rainwater runoff. Lay down the largest pieces of felt you can find, again for the most comprehensive moisture barrier possible. Cut the felt to another three inches overhang from the replacement board. Begin the shingling process and previously mentioned until the roof is covered. When all the material is on use your knife and/or saw to cut all the material to the preferred inline dimensions.
Should I Buy a New Shed?
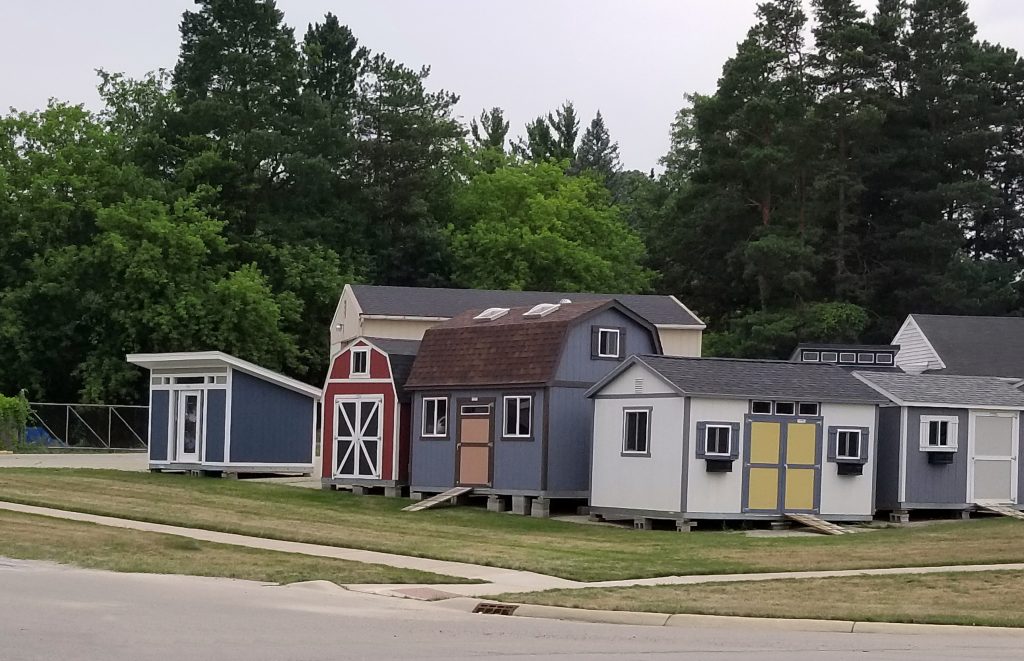
Ensure all the time, energy and money you’re putting into shed repair is worth the while. How much would it be to buy a new shed? Does that cost pale in comparison to what you’re putting in on repair and maintenance? If so, consider a purchase. But, if you live in a community, be sure to talk with management first in case there are rules and regulations on shed size, configuration or color.
The Final Act in How To Repair a Shed
Grab your beverage of choice, perhaps some snacks too, and sit in your yard or garden to provide ample time to admire your handy work. Well done DYI-er!


